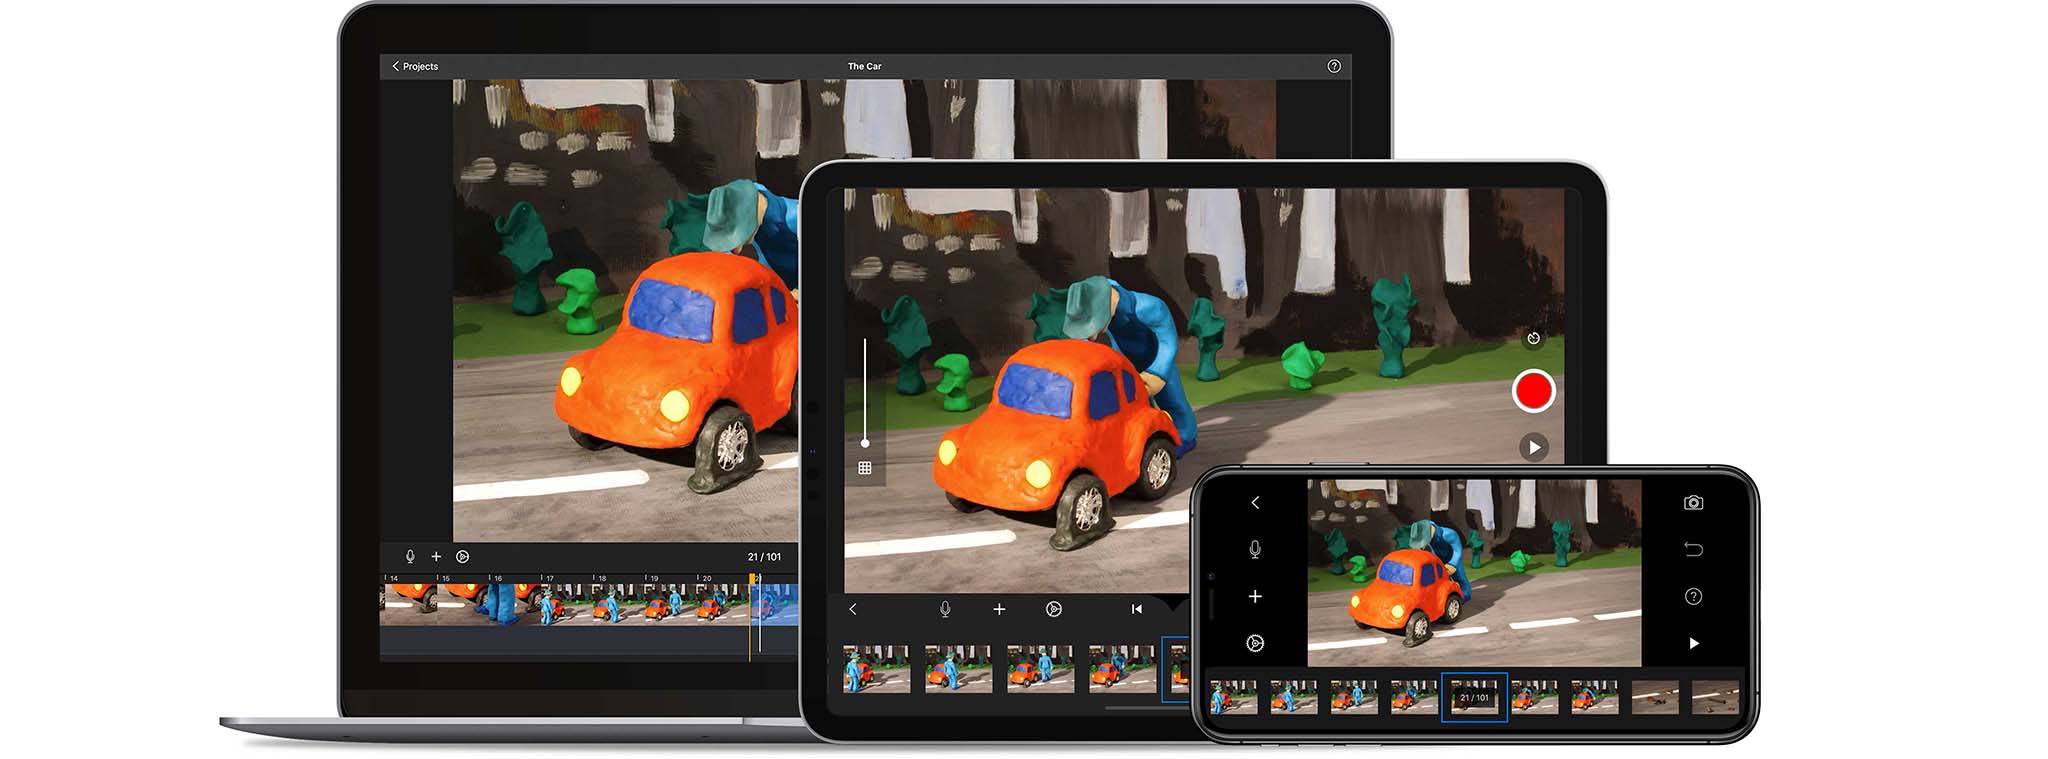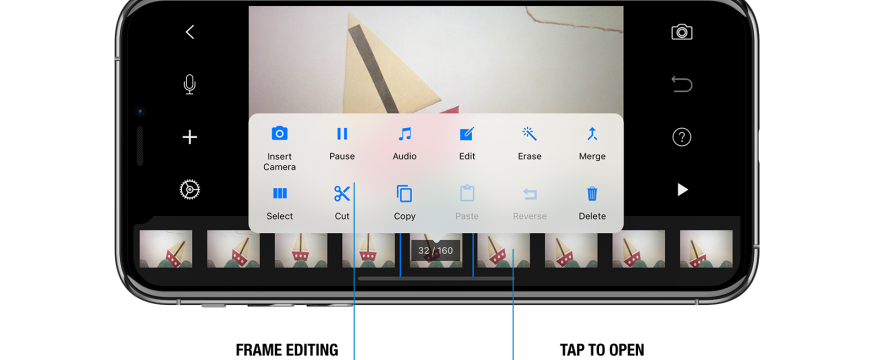
Stop Motion Studio is an App designed to make creating animation easy and accessible.
The program is available on a number of different platforms, and while there is a free-version which gives you basic options for recording and editing, the paid version ranges from 5 -10 dollars depending on the device you are using.
Click here to download the free trial version of the program
How to Use
The following is a brief overview of how to begin using Stop Motion Studio. You can find more guides and more detailed information at Stop Motion Studio's website.
- First get objects and figures to "star" in your movie. Good choices include clay or Play Doh®, Lego® or similar building block figures, small dolls with a lot of flexibility, or paper cut outs – really almost anything. Collect your characters and prepare any additional props or titles to setup your sequence.
- Set up the figures /characters in a particular position, sequence or arrangement near your stage or set so that your composition will go smoothly.
- Tap the add_circle to create your first project.
- From the Projects browser, tap the add project add_circle symbol
- In the application, tap the camera symbol to switch to capture mode.
- Tap the capture button to capture an image.
Place your camera in front of the set that you are going to photograph. Check to make sure the entire frame is in view. It is very important to make sure the camera is firmly supported so it doesn’t shake as you shoot each frame. Otherwise, the end result will appear jumpy and lack continuity. Keep in mind that the more frames you capture, the smoother the results will appear in your final video.
Begin shooting the stop motion sequence. Move each figure bit-by-bit in very small increments each time. It may be the entire body if the figure is walking, or it may just be an arm, head or leg. If you are moving only one body part and you find that the figure is tilting or threatening to fall over, make use of poster tack or stickum under the feet or other area touching part of the set. Repeat the movement sequence until your action step is completed.
- When in capture mode, use the slider on the left to change the onion skin opacity.
- Drag the slider down to make the previous image more visible or up to see the camera’s live view.
Use the Grid and Onion Skin controls to help you position animated objects more easily and precisely. The onion skin overlays the last captured frame on top of your camera’s live view. This way, you can see how far you have moved your character between the last frame.
- When in capture mode, use the slider on the left to change the onion skin opacity.
- Drag the slider down to make the previous image more visible or up to see the camera’s live view.
Select the camera you would like to use for your movie. You can use the regular camera, or a green screen camera or a remote camera. With the green screen camera you can replace the background of your scene. Or use a second device as a remote camera to get really close to the action. 
- From the movie editor, tap the camera symbol
.
- Tap
photo_camera
in the camera settings to change the camera.
- Swipe to select a new camera from the list.
Choose the best Camera Mode
- AUTO: In automatic mode the camera will continuously adjust focus and exposure.
- AL: In automatic locked mode, a tap on the screen will lock exposure and focus. This is best for beginners.
- P: In program mode, a tap on the screen will change the focus but will not change the exposure. A good tradeoff between the complexity of changing all camera settings manually and light flickering.
- M: In manual mode, all camera settings are set manually. A tap on the screen will not change the focus. This is best for advanced film makers to minimize light flicker.

Change Camera Settings
-
photo_camera
Camera Selection: Switch between regular camera, Green Screen and Remote Camera.
-
wb_sunny
Exposure Compensation: Changes the exposure bias. A lower value will darken the your image whereas a higher value will lighten your image.
-
wb_auto
White Balance: Change white balance temperature. A lower value will create a cooler image whereas a higher value will result in a warmer image.
-
filter_center_focus
Focus: A lower value will sharpen objects close up to the camera lens while blurring objects far away whereas a higher value will sharpen objects in the distance but blurry objects close to the lens.
-
iso
ISO: The ISO controls the light sensitivity of the camera sensor. A lower value result in a less light sensitive sensor whereas a higher value increases the sensitivity of the sensor. In a low light situation use ISO together with the shutter speed to reduce noise in your image.
-
camera
Shutter Speed: The shutter speed or exposure time is the length of time the image sensor is exposed to light. The faster the shutter speed, the shorter the time the image sensor is exposed to light; the slower the shutter speed, the longer the time the image sensor is exposed to light. In a low light situation use ISO together with the shutter speed to reduce noise in your image.
-
Zoom: Zoom in and out of your scene.
Tip: Use the volume button on your headphone to capture each image. Using the volume button means you don’t have to touch the device, which might cause the device to move. You can also use a bluetooth remote shutter or your Apple watch. Also consider using the remote camera feature to use a second device for capturing.


Leave a Reply